
Navigation:
uberSVN.com |
Welcome |
Release Notes |
Installation |
Admin |
Reference |
uberAPPS |
Glossary
uberAPPS is the integrated software and services store that allows you to add, run and maintain a growing range of tools from within uberSVN, turning it into your all singing, all dancing development hub.
This guide runs through the inner workings of uberAPPS, to give you an overview of how to buy and setup applications and services.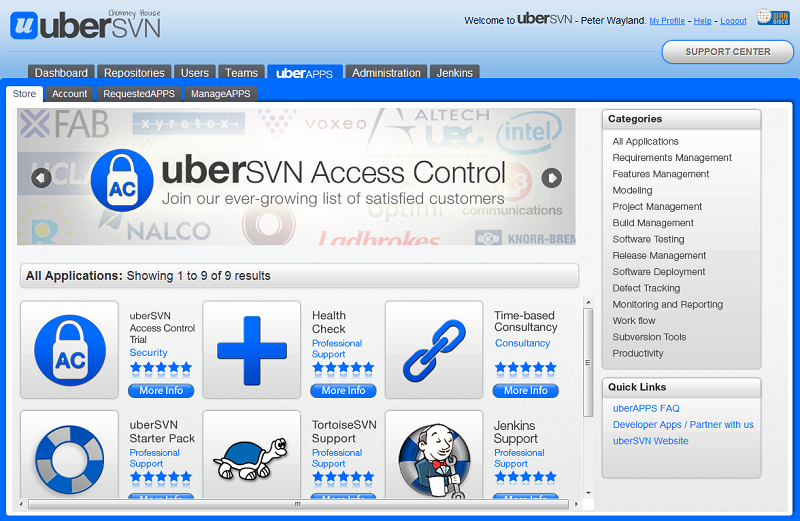
The uberAPPS showroom.
The store page is where available apps and services are displayed. Click on the app's logo or its 'more info' link to get more details. Users who don't have any special permissions will only see a store tab, the table below shows which user permissions correspond with additional uberAPPS tabs.
 Important
On a fresh install of uberSVN 11.8, the system admin (the account created during the installation) is automatically given the new uberAPPS User permission, which is required for making purchases. However, when moving from an earlier version to 11.8 using the updater, the system admin account is not automatically given the uberAPPS User permission.
uberAPPS User permission is enabled from the Permissions tab of a user's profile.
| User Permission | Viewable uberAPPS tabs |
| Regular User, Global Team Admin, Global Repository Admin | Store |
| System Admin | Store, Requested Apps, Installed Apps |
| uberAPPS user | Store, Account, Requested Apps |
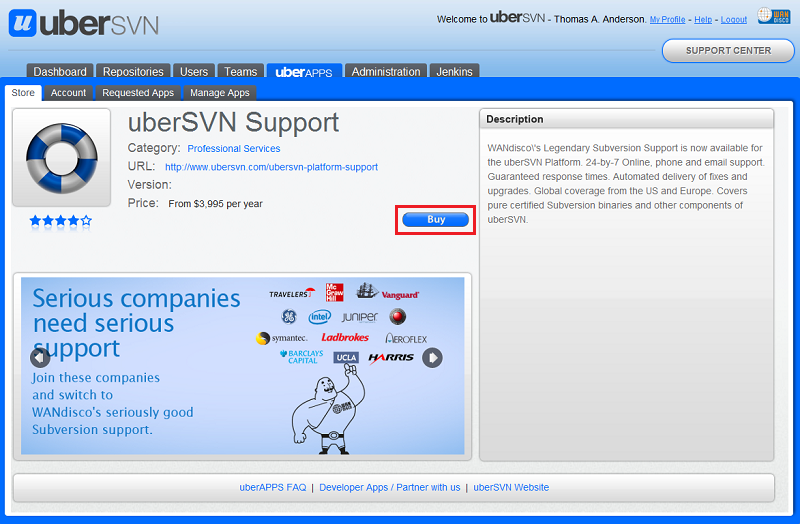
uberAPPS store as viewed by a regular user.
Each product or service in the uberAPPS store has its own product screen. This features a product description, where applicable a link to the developer's own website and either a buy or request button, depending on whether the user who is viewing the store has uberAPPS purchasing permission.
When viewing uberAPPS as a regular user, you'll be unable to purchase apps yourself. Instead you can send a request to your uberAPPS users. To do this, click on the Request button.
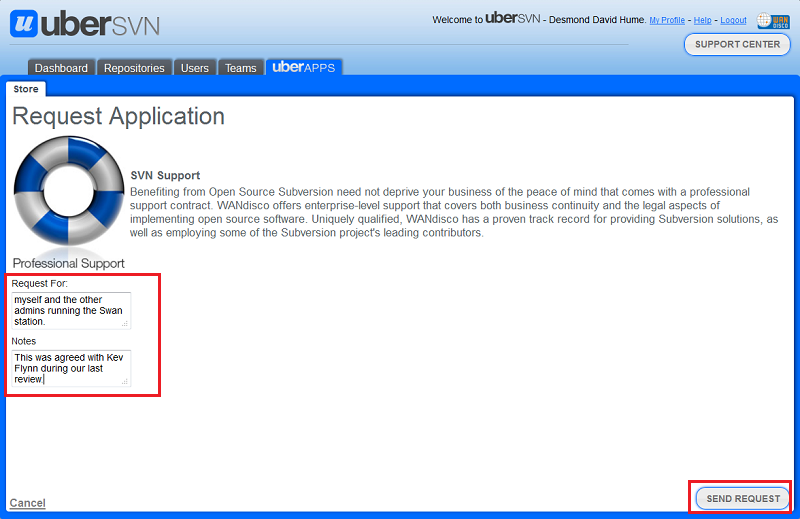
Requesting an application.
You can add details about who the request is for, with an option for providing some notes to help the uberAPPS purchaser decide if the purchase is appropriate. To log the request, press SEND REQUEST. Once submitted the request will appear on the Requested Apps tab.
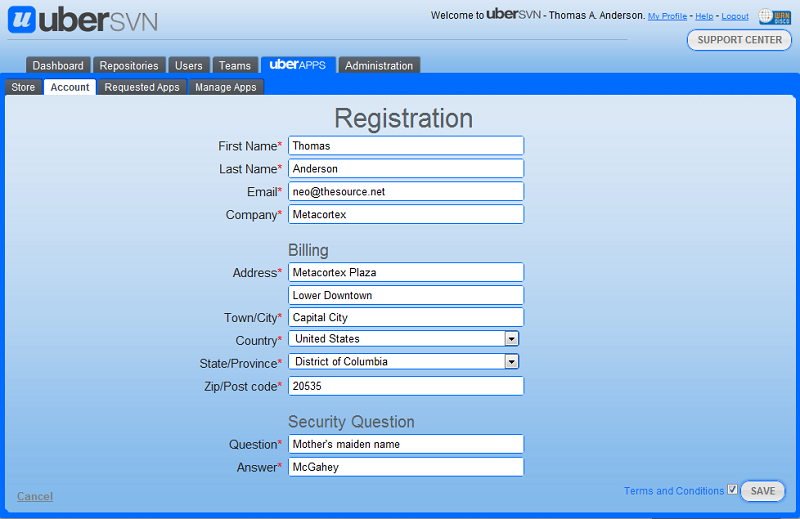
Account registration screen.
The account tab can only be viewed by users who have the uberAPPS User permission on their uberSVN account. On first visiting the tab you are presented with the account registration screen where you enter the following details that will be tied to your payment account.
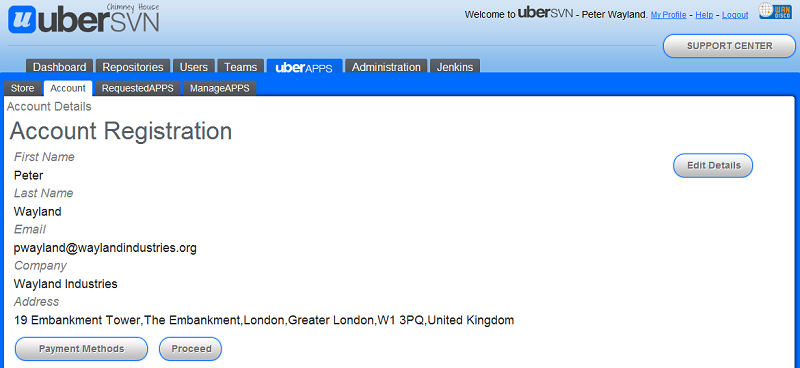
Account tab as it appears after the account has been registered.
Once the account has been set up clicking on the Account tab will present the account details, as shown above. Click Edit Details if you need to make any changes to your account details.
Before an apps can be purchased, payment details need to be added by clicking the Manage Payment Methods button.
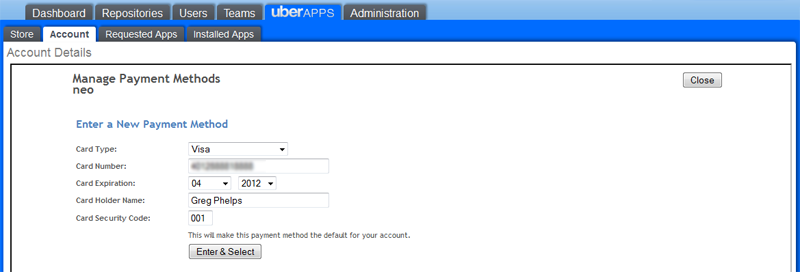
Manage Payment Methods.
The payment details that you enter are never stored in the uberSVN product, they're transmitted using a secure connection to our e-commerce provider.
Billing Security
Our Payment Gateway is provided by Zuora, a PCI and SAS70 Compliant e-commerce server which appears on VISA's list of approved providers. In addition, Zuora is certified as Safe Harbour Compliant, a data protection framework set up by the European Commission on how to provide protection for stored personal information.
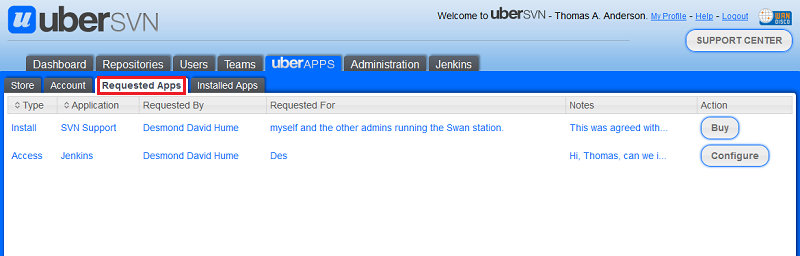
Who can do what in uberAPPS.
Each time a user makes a request for an app, the request is logged on the Requested Apps tab.
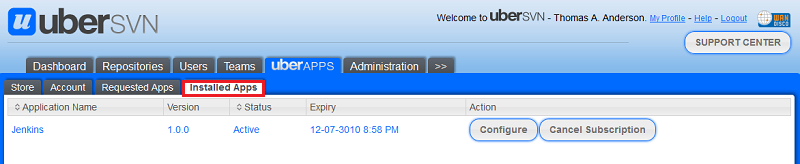
Who can do what in uberAPPS.
All applications and services that have been purchased, or that are available free appear on the Manage Apps tab.
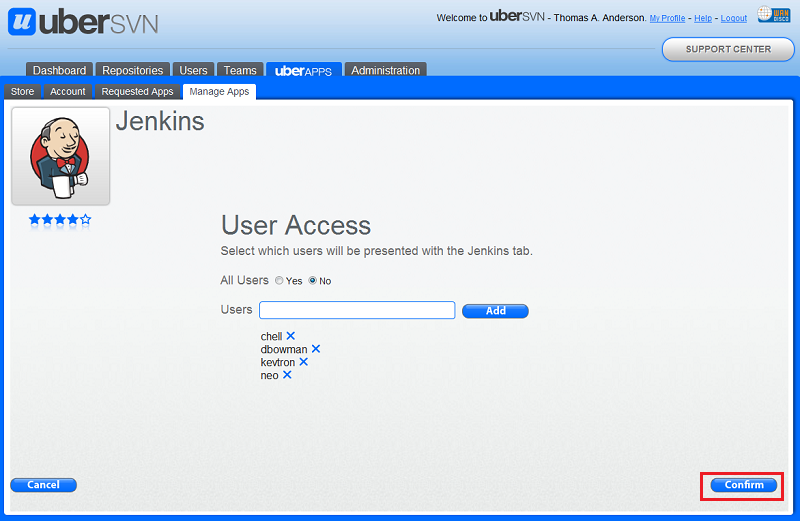
Configure the application.
Applications that require some setup will present configuration screens, allowing you to modify any customisable features. Each application will have its own set of configuration settings. For example, Jenkins lets you decide whether it is viewable by all userSVN users, or only by selected users.
Copyright © 2010-2012 WANdisco plc.
All Rights Reserved
This product is protected by copyright and distributed under
licenses restricting copying, distribution and decompilation.
uberSVN "Chimney House"
Last doc build: 10:17 - Tuesday 19th June 2012