
Use these instructions to upgrade your Subversion Access Control to a later build or version, rather than those found in The Deployment Guide: 2.2 Installation Procedure section, which are intended for a first time installation.
The correct method for upgrading Subversion Stand-alone Access Control depends on which versions you are moving between. Use the guide below to ensure that you upgrade with the right method.
Upgrading from Subversion Stand-alone Access Control 3.6 or earlier - See our Knowledge base articles on Upgrade Access Control 3.6.0.x to 3.6.0.y
 Upgrade rule of thumb
When looking to upgrade Stand-alone Access Control, apply the following rule:
Upgrading within a version, e.g. 4.0 build x --> 4.0 build y , use the Upgrade with Script
Upgrading between 'point' versions. e.g. 4.0 --> 4.2 will require you to Upgrade from backup
Use this procedure if you are upgrading between versions rather than builds (4.0 to 4.2 rather than 4.2 build x to 4.2 build y etc).
To upgrade between builds, see Upgrade with script.
You're running a build that is up-to-date enough to be able to upgrade directly to version 4.2. Proceed to Upgrade to 4.2.
You're running a build that can't upgrade directly to 4.2. Before you can continue you need to contact WANdisco and get SVN Stand-alone Access Control 4.0 Build: 3937.
Use the upgrade from script method to first upgrade to the latest version of 4.0. You'll need to contact WANdisco about getting the latest 4.0 build.
Upgrading from backup requires that Stand-alone Access Control be installed from scratch. First you export your user settings so they can be imported into the new version.
 Installing in order to perform an upgrade using the backup files?
Don't enable Authz during the installation - wait until the import is completed, then enable Authz from the Subversion Settings screen.
Enabling Authz during the installation can greatly impact the performance of the backup file import.
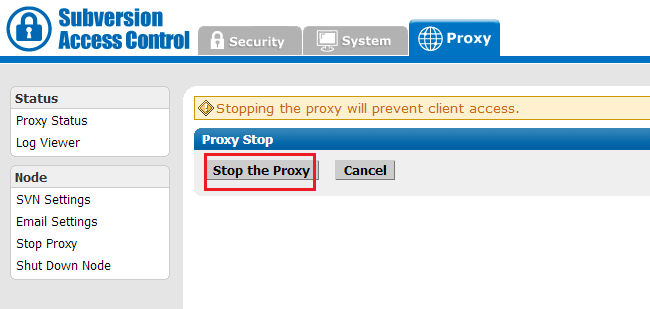
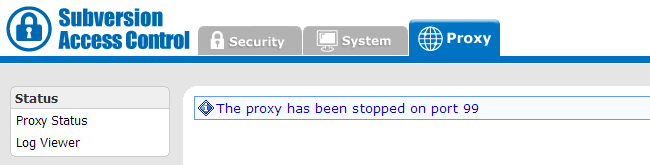
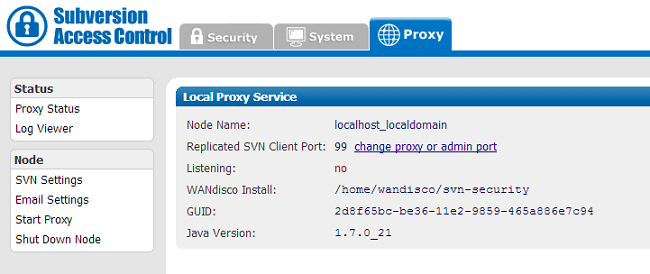
1.1 Open the Admin Console, on the left-hand menu click Stop Proxy.
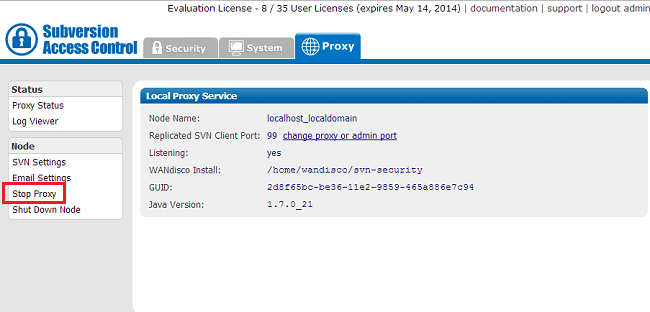
If running the Stand-Alone version of Access Control or in conjunction with SVN MultiSite Plus then this step must be ignored - as you won't have a proxy tab. If running SVN MultiSite Plus, After taking the backup in the next step, shut down the MultiSite and proceeding with the remaining steps.
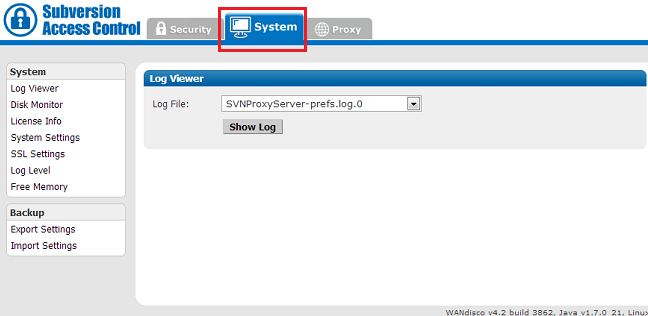
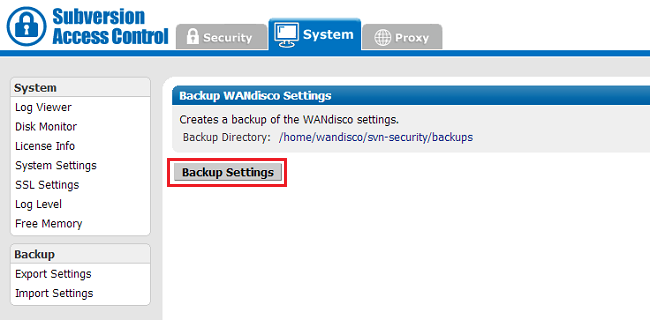
1.2. Check that radio button for "Synchronized Stop of all proxies". Access Control will now wait for any remaining transactions to complete, after which all nodes will stop listening, stopping replication.2.1 Open the Admin Console and click on the System tab.
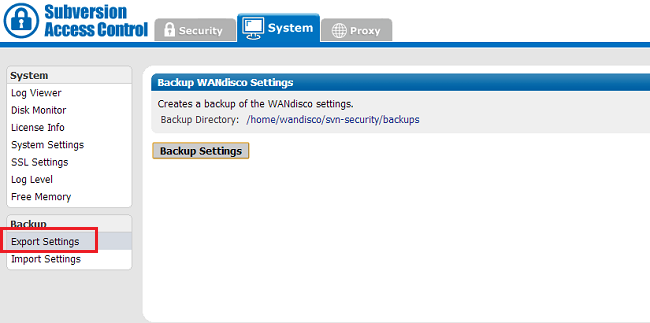
2.2 Click on Export Settings. Confirm the filename and location, then click on Backup Settings. All settings and user data will be exported in the resulting backup directory.
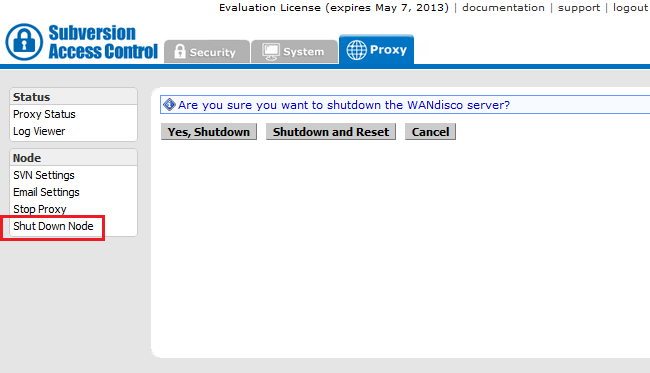
3.1 Shutdown SVN Stand-alone Access Control
3.2 Move the svn-security directory to a backup location. This way, if you need to roll back it will just require you to reverse this step to get your old installation back.
4.1 Decompress the new Access Control 'svnsec-dbg.tar.gz' archive file.
4.2 Copy the license evaluation key file to the svn-security/config directory.
4.3 Go to /svn-security/bin/, then start the installation with the following command:
perl setup
Respond to the Yes / No prompt relating to java memory settings.

4.4 The setup will now start up the browser based installer. Open your browser and go to address shown at the end of the setup. This will be the IP of your installation machine, on the WANdisco port (6444 by default).

5.1 From the Welcome screen, click Continue.
5.2 Once you've read the WANdisco End User License Agreement, click I Agree to continue with the upgrade.
5.3 Enter a password for the default Admin Console account, the username for this account is now admin (for earlier versions it was "root"). Click Next to continue.
5.4 The next two screens explain how Access Control will act as a proxy between Subversion clients and the Subversion server. Click Next to continue.
5.5 By default, Access Control will listen on port 80, while Subversion will listen on port 8080. The benefit of this setup is that Subversion end-user don't need to make any changes.
5.6
You'll confirm the proxy settings. These will be populated with the default settings noted in the previous screens.
Node Name: The name that Access Control will use for this, the first node. The name cannot contain spaces, but can be changed later from the Admin Console.
Node IP: The node's IP.
Bind Host: By default, all network interfaces bind to the node. Select "Bind advertised host only" to limit to the node's IP address (stated in the field, above).
Client Port: By default this is 80, allowing Subversion users to continue without making change to their client setup.
Admin Console Port: 6444 by default. Should you need to use a different port for accessing the Admin Console, restart the setup (step 3.1.3) using the following command:
perl setup <preferred port for Admin Console access>
Reserved Ports: Access Control will reserve a block of 10 ports, you can either leave the default ports or enter ports that you prefer.
Use SSL: Tick the checkbox if you've already got keystore/truststore settings in plac. See more about SSL Settings.
Once you've finished making any changes to the proxy settings, click Next to continue.
5.7
Setup will check the Apache config file for settings that might cause problems for Access Control.
If the httpd.conf file isn't found, enter its path into the Configuration File entry box, then click Reload Configuration.
Look out for warning boxes for where setup finds a problem. You'll need to manually edit the httpd.conf file, then click on Reload Configuration to have setup check your changes.
User: Owner of the file.
Group: The group in which the owner belongs.
KeepAlive: Setup will look to see that the Keep-Alive directive is set to On.
KeepAliveRequests: Setup will look for 0, which indicates that no maximum limit will be set for connection requests.
KeepAliveTimeout: Set very high (500,000 seconds) to ensure connections don't timeout.
Listening IP: For a node with multiple IPs, this will indicate the IP used for listening.
Listening Port: The default listening port is 8080.
Override Listen directive with a virtual host? Tick to tell Access Control that you are using a virtual host.
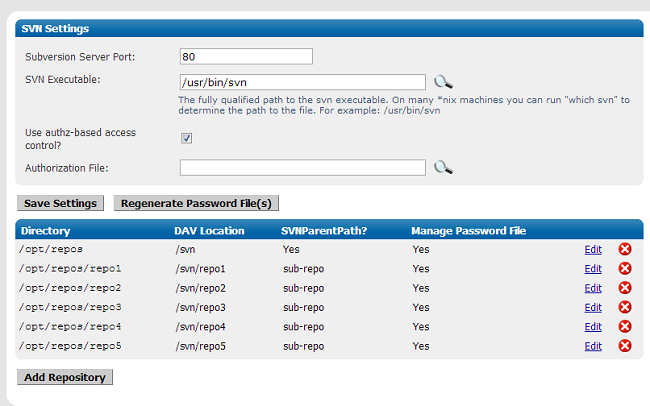
5.8 Setup now allows you to modify your Subversion settings. Watch for alerts that confirm the port and path that Access Control will associate with Subversion.
SVN Settings
Use Pre-Replication Hooks: Select whether you are using Pre-Replication Hooks.
Subversion Host: Confirm the hostname of the server running Subversion. You'll benefit from making this the same location as Access Control, e.g. 'localhost'.
Subversion Server Port: 8080 by default.
SVN Executable:This is the fully qualified path to the Subversion executable. Setup will try to fill this in automatically, otherwise type it into the entry box.
Use authz-based access control Click on the box if you are using Authz access control. See the following note about why you may wish to hold off selecting this option until later.
Installing in order to perform an upgrade using the backup.xml file?
Don't enable Authz during the installation - wait until the import is completed, then enable Authz from the Subversion Settings screen.
Enabling Authz during the installation can greatly impact the performance of the backup.xml import.
At the bottom of the screen is a table that confirms the DAV Location and password control for your repositories. You can click edit to make changes. You can add additional repositories by clicking Add Repository. To continue setup, click Next.
5.9
You can enter email settings so that Access Control can send alerts.
SMTP Authentication: If you select No, you'll need to provide your account.
Username and Password in the following entry boxes.
Use SSL/TLS: Choose yes if you wish to send emails over a secure connection.
Host: Enter the address of your mail server.
Port: Enter the SMTP port, 25 by default.
Send Admin Notification To: The email address to where notifications will be sent.
You don't need to provide email settings, in which case, click Skip to continue. Otherwise, click Next.
5.10 You have now completed setup. You can go back and make changes or click Complete installation with these settings to save them and restart Access Control.
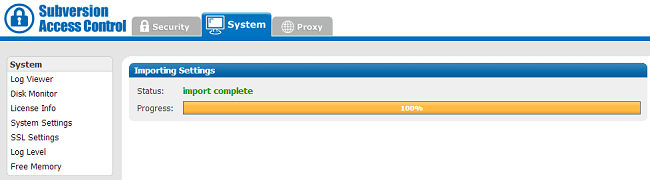
5.11 You will next see a Completing Installation screen, which Access Control restarts. When completed, you'll see the authentication screen for the Admin Console. Enter the username 'admin' and the password you entered during setup to enter.
So you backed up your data, installed the latest version Access Control, it's now time to import your backed up data.
Use this procedure to restore user information, although any system settings will need to be manually applied
 Alert
Alert
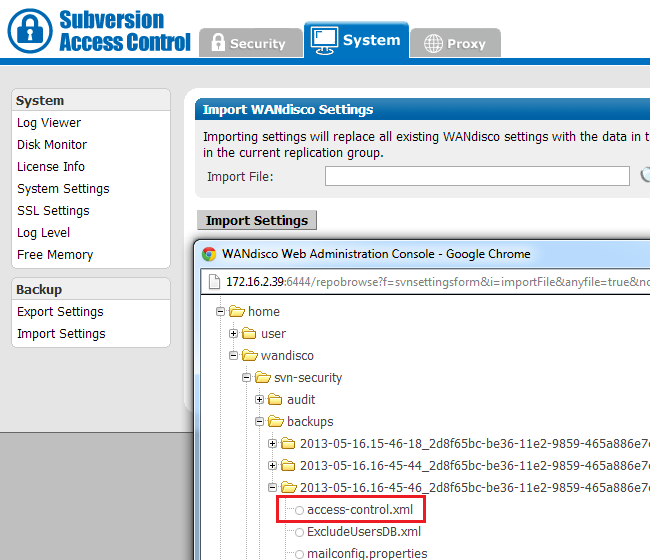
If you are upgrading from 4.1 to 4.2 you will need to convert the access-control.xml file. To do this navigate to the backup folder you created in 1.5.
Then run perl /opt/svn-security/utils/convertacl41-42.pl access-control.xml. A new file convert-access-control.xml will be created in the same folder. Use this file for the following steps. Please note that running the script from any other folder will not work.
Important All files for use with WANdisco Access Control should use UTF-8 encoding (and/or single-byte encoding if there are no none-ASCII characters). Any other encoding e.g. Unicode will not be parsed correctly.
Use this procedure to upgrade to a later build (e.g. version 4.0 build x to version 4.0 build y). If you are upgrading to a different version (e.g. 4.0 to 4.2 then see Upgrade from Backup)
Things you must know before you make a start:
cd /opt/wandisco
tar czf svn-security-4-previous.tgz svn-security
Benefits of the upgrade script
The upgrade script gets your working installation up-to-date without losing any settings.
Unlike setting up a fresh installation (and importing access control settings,
LDAP authorities are retained and previous LDAP users and teams are retained, although admin user becomes an LDAP account.
/user/temp/wandisco/svn-security/
/user/temp/wandisco/svn-security/liband run the upgrader script, using the command:
java -jar svnsec.jar -upgrade <path><path> is the path to the svn-security directory of your current installation, e.g.
/opt/wandisco/svn-securityeg
java -jar svnsec.jar -upgrade /home/wandisco/svn-security-backupRead more about using the upgrader script.
WANdisco SVN Security Agent, version 4.2 build 3862

beginning upgrade for : SVN Security Agent
1) Have you backed up the directory: /user/temp/wandisco/svn-security/lib?  Y or N ? [Y]
Y
4) Confirm that you wish to upgrade the installation at: /user/temp/wandisco/svn-security/lib
If you proceed, files will be overwritten. Y or N ? [Y]
Y
copied /home/wandisco/svn-security/config/.privileges.xml
copied /home/wandisco/svn-security/config/.privileges-dav.xml
copied directory:/home/wandisco/svn-security/lib to directory: /home/wandisco/svn-security-backup/lib
copied directory:/home/wandisco/svn-security/bin to directory: /home/wandisco/svn-security-backup/bin
copied directory:/home/wandisco/svn-security/utils to directory: /home/wandisco/svn-security-backup/utils
copied directory:/home/wandisco/svn-security/webapp to directory: /home/wandisco/svn-security-backup/webapp
copied directory:/home/wandisco/svn-security/license to directory: /home/wandisco/svn-security-backup/license
================================================================
Ensure that all nodes are upgraded before restarting replicators
================================================================
upgrade completed successfully.
Existing installation at /home/wandisco/svn-security-backup has been upgraded to SVN Security Agent, version 4.2 build 3862
Answer "Y" to all prompts. If there's anything you need to complete, open up a new terminal window and complete the requirement before continuing.
Alert
Don't forget to remove your temporary installation before restarting your upgraded proxy.
You can read more about how to use the upgrader script by running it with the -help flag.
$ java -jar svnsec.jar -help
Alert
Valid parameters are:
-dprefs show dynamic preferences.
-nodes show node information.
-upgrade <path> upgrade an existing installation at the specified path.
-upgradeNoConfirm <path> upgrade an existing installation at the specified path WITHOUT PROMPTING FOR CONFIRMATION.
-help | -h show help
Copyright © 2010-2012 WANdisco
All Rights Reserved
This product is protected by copyright and distributed under
licenses restricting copying, distribution and decompilation.